Chapter 1 - Hello World!
This is a tutorial series for building fullstack websites with Go.
I started building websites with Go because of my dissatisfaction with popular web development frameworks. Django/Flask had too many constraints and the Javascript ecosystem moves quickly and requires rewrites every few years. Coming from a startup background, I desired a flexible and efficient framework for solo or small team projects. Go fulfills this need nicely. Just like a Supermoto motorcycle, Go is built to be extensible and has the flexibility to do nearly everything. Here are some more reasons to chose Go:
- Simple, built-in package management
- Full IDE integrations that auto format/prettify
- Backward compatibility ensures code can be operational for years with little maintenance
- The standard library has building blocks for nearly every use case
- Go being statically typed helps as the codebase and contributors grow in size over time
- Compile time verification and quick execution
- Go does not get in the way of using Postgres databases to the fullest
Despite all of these advantages, almost nobody uses Go for fullstack development. I believe this is due to the lack of tutorials and because the Go documentation is very unintuitive for beginners. This tutorial aims to bridge that gap.
This is also my capstone project for Utah Valley University's Integrated Studies degree. It combines the disciplines of Computer Science and Information Systems & Technology.
Getting started
To get started, install Go and an IDE. I recommend VS Codium.
In the terminal, make a new go module. I'm calling this one site but you can change the name for your use:
go mod init site
This creates a file declaring what Go version we are using. Once we install modules, this file will also track our imported modules and their versions.
To start, we are going to write a quick Hello World! to start.
Create a new file called main.go next to go.mod.
package main

import "fmt"

func main() {
    fmt.Println("Hello World!")
}
Type go run main.go to run the program.
You should see "Hello World!" in the terminal.
Routing
Now that we verified that Go is working, we can start building a website. The core of any website is the router. This is what runs different parts of the code to respond to website traffick. We are going to use the router built into the Go programming language. (Version 1.22 and newer)
import (
"fmt"
"net/http"
)
func main() {
fmt.Println("Starting webserver...")
// Make a router. Aka the Http request multiplexer
mux := http.NewServeMux()
// Define a handler to run if there is a request to the webserver
mux.HandleFunc("/", homeHandler)
// This runs on the specified port with the router we defined above
http.ListenAndServe(":8000", mux)
}
func homeHandler(w http.ResponseWriter, r *http.Request) {
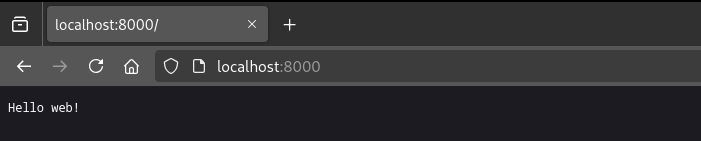
fmt.Fprintf(w, "Hello web!")
}
Congrats! You have technically built a website!
Oh hey, it works for other URL variations too.
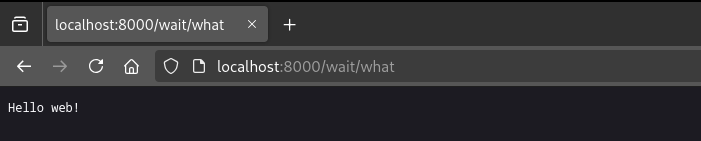
Now this is where the Go router gets interesting.
The "/" variation matches with any incoming request.
But if another route is defined as "/about", that one will be prioritized because it is more specific.
For web pages that require a specific URL, ending with a letter is convention: "/about/team1".
This will not match any other URL variations like "/about/team1/nope".
But if wou would like to end with a slash, just add "{$}" at the end.
This also applies to the root URL.
If we write the route as "/{$}", it will only match with "localhost:8000".
(Note that "yourdomain.com/" will automatically be redirected to "yourdomain.com".)
Here is an example:
package main

import (
    "fmt"
    "net/http"
)

func main() {
    fmt.Println("Starting webserver...")

    // Make a router. Aka Http request multiplexer
    mux := http.NewServeMux()

    // Define a handler to run if a request to the webserver
    mux.HandleFunc("/{$}", homeHandler)
    mux.HandleFunc("/about", aboutHandler)

    // This runs on the specified port with the router we defined above
    http.ListenAndServe(":8000", mux)
}

func homeHandler(w http.ResponseWriter, r *http.Request) {
    fmt.Fprintf(w, "Welcome to the home page!")
}

func aboutHandler(w http.ResponseWriter, r *http.Request) {
    fmt.Fprintf(w, "About the website")
}
The go router has many ways to match with URL variations. You can even specify different handlers for different HTTP methods like this:
mux.HandleFunc("GET /contact", getContactHandler)
// and
mux.HandleFunc("POST /contact", postContactHandler)
This is a perfect example of why Go is so awesome. The router is as simple as possible while being as extensible as possible. For more info, check out the net/http documentation. And the Go developers' router explanation.
Next up, we will add content and style with HTML and CSS. Chapter 2